Thursday, May 31, 2018

How Aargh You?

Happy Thursday!  Today I have a fun shaker card to share with y'all using the Yo Ho! set from Kindred Stamps.  I thought it would be super fun to make the pirate ship the shaker loaded with "loot".  Isn't this set fun?!


I started out by stamping my Captain and ship using my stamp platform.  Next, I colored him using my Zig watercolor markers.  I wasn't worried about the ship as that's just needed for the outline.  I then used my PixScan mat with my Cameo to die cut around the Captain and the shape of the ship.


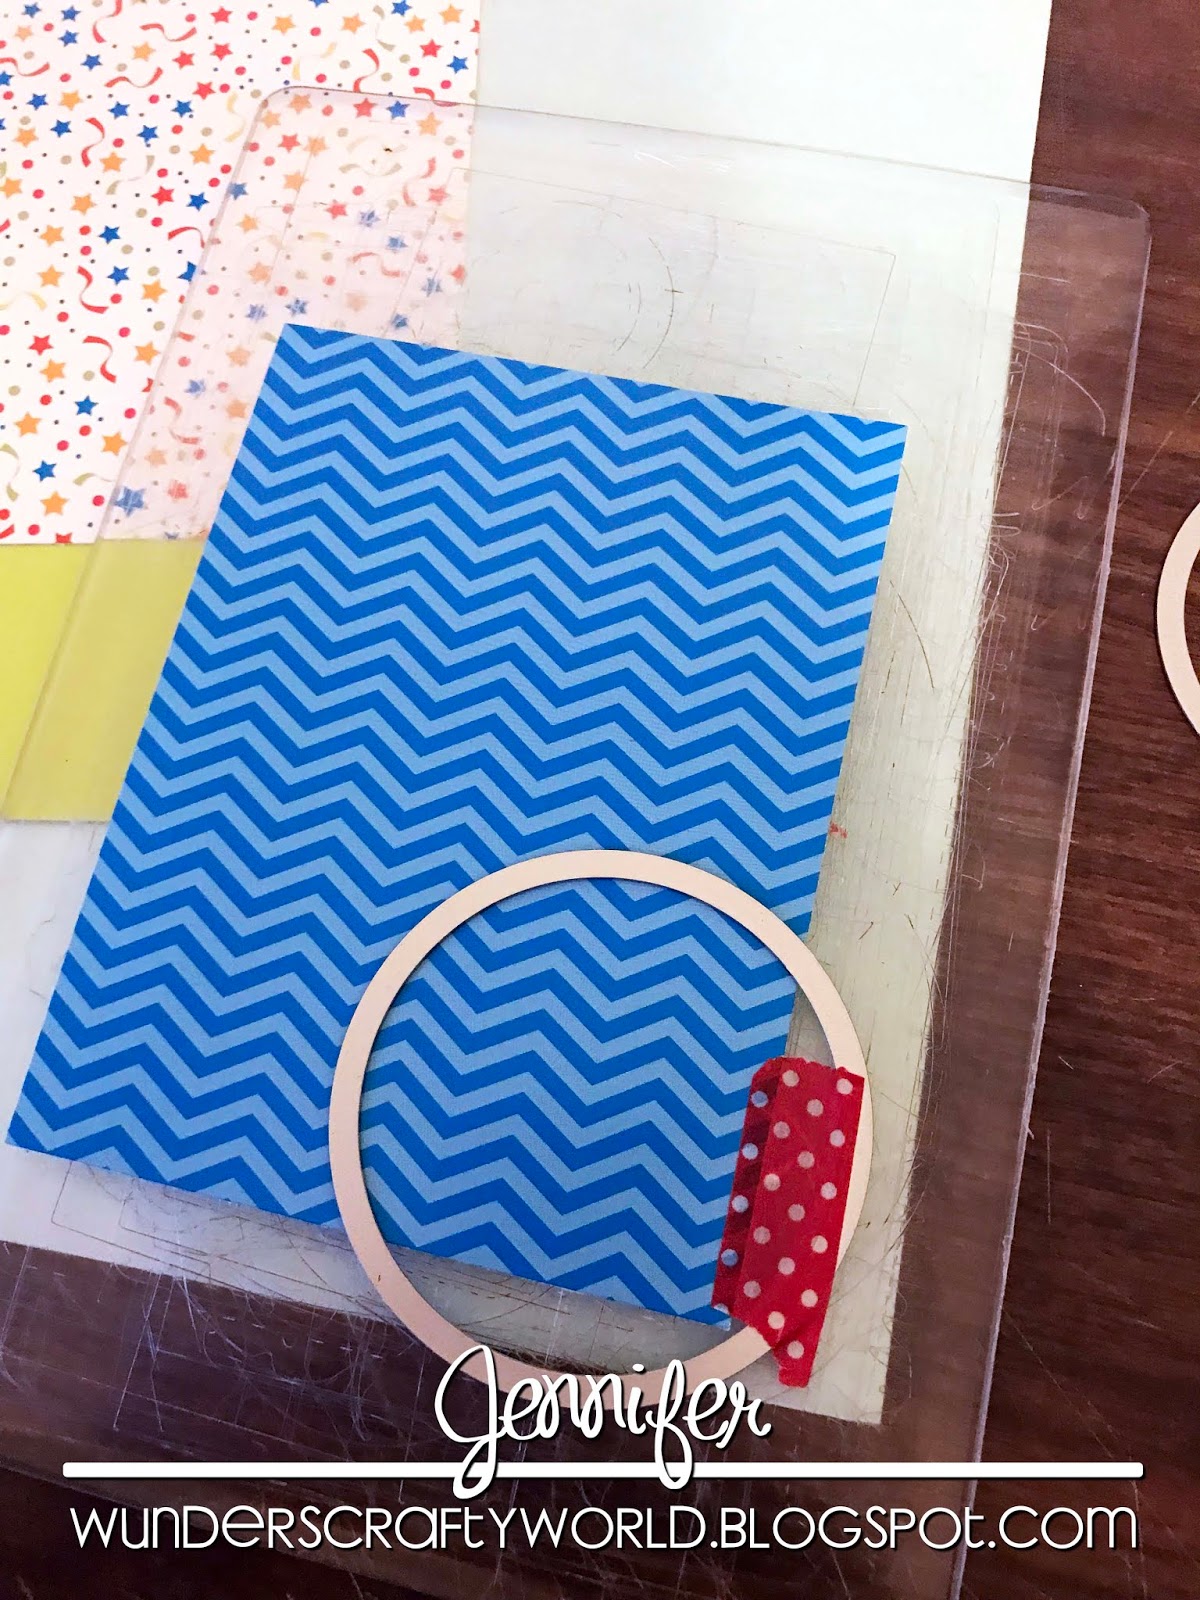
Once I had the ship outline, I cut a stack of them out of cardstock.  They will be stacked up creating a well for the "loot".  I also cut my top layer with the ship cutout as well. (Yes, I cut the ship the wrong direction on my top layer and didn't realize it until a few steps later lol)


Glue the layers of the ship cutouts together.  I used 6 layers, which gave me a nice well and was about the same thickness as my foam tape.


In order to get the clear overlay for the top, I used some clear cardstock.  I cut a small piece and used washi tape to hold it in place so I could stamp the ship image on the front.


Using StazOn in, I stamped the ship image in the cutout area.  It fit perfectly inside making it super easy to line up.


Add a layer of double sided tape around the perimeter of the clear cardstock and adhere it to the back of your top layer.


Here you can see it adhered in place.


Next, add your layered cardstock cutouts.  I used double sided tape on the back along with glue in the smaller areas.  I used washi tape on the top and bottom, adhering it to the front of the card base to ensure it was all lined up correctly.  Once it was adhered, the washi tape was easily removed.


One thing I like to do is take my anti-static bag that is used for embossing, to run around the edges of the cutout.  This will make any glue or tape that may have showed through to not be sticky anymore allowing the loot to shake freely.


Add your "loot" ~ as much as you like.  Then add your double sided tape around the opening.  I also added foam tape to level out the card.


Adhere the top piece of your card. And of course give it a shake or two lol!


For my sentiment, I wanted the paper to look old like a used treasure map.  I love this Kraft Glassine paper by Tim Holtz and knew I could get that effect with it.  I die cut my piece with my BigShot and a MFT washi tape die. 


Here's the fun part of this paper - you can ball it up, squish it and really roll it up to get a neat worn look when unfolded.


Add a little distress ink to make it look old.


 Then stamp your sentiment.  I always die cut first then put the piece back into place, hold it with some washi tape, then stamp the sentiment.


Add your cute Captain and the sentiment and your card is complete.


This card might be hard to part with lol.  Hope you enjoyed the tutorial!

Goodies used on this card:
Kindred Stamps ~ Yo Ho Stamp Set
Zig Clean Color Real Brush Markers
Bristol Paper
Tim Holtz Stamp Platform
Archival Jet Black Ink
StazOn Jet Black Ink
Rusty Pickle ~ Black Pearl/Cap'n Jack Cardstock
Tim Holtz Kraft Glassine Paper
Distress Ink ~ Walnut
ColroBox Chalks ~ Chestnut Roan and Dark Brown
MFT Washi Tape Dies
ClarScraps Clear Cardstock
Double Sided Tape


Friday, May 25, 2018

You Complete Me

Do you ever see a stamp set and think to yourself.. yes I must have that one!!  Look at all those possibilities?!?  Well that was me when I saw the To Pieces set from Pink & Main.  I loved the puzzle pieces die and thought it would be fun for so many different cards.  So of course, I added that to my collection lol.


I wanted to go for an ombre look for my puzzle pieces, so I picked two distress inks and used Bristol paper.  Bristol paper is great for projects like this as it does not dry right away.  The ink stays on top of the paper allowing for some amazing blends.


I used one color on each end and got a little lighter towards the middle - blending just a little.


I then used the puzzle piece die to cut the section of pieces out.  I also stamped them with the coordinating stamp.


Next, I cut my pieces I knew I was going to use ~ I chose the little bear standing up and the two hearts.


Next, I stamped the images using my Tim Holtz Stamp Platform and some ink.  


Now, off to color my images.  I LOVE using the Zig markers - they blend so beautifully and the color options are vast.  I didn't use too many colors for this project, what you see is what I used lol.


I then created my background by adding some washi tape across the patterned paper.  It adds a nice touch to the bold black background.  I then added the puzzle pieces, hearts, my sentiment piece and the cute bear.  Finished it off with some white pen accents on the puzzle pieces.


Goodies used on this card:
Pink & Main To Pieces Stamps and Dies
Pink & Main Rounded Stitched Rectangle Dies
Pink & Main Glossy Dots ~ Birthday Girl
Zig Clean Color Real Brush Water Color Markers
Bristol Paper
Tim Holtz Stamp Platform
Archival Jet Black Ink
Distress Ink ~ dusty concord and picked raspberry
Recollections Paper Pad
ColorBox Chalk ~ Charcoal
Washi Tape
Foam Tape


This card has been entered in the Pink & Main Challenge #30 ~ Anything Goes Challenge

Adventures

Have y'all seen the new files from KaDoodle Bug Designs?!?  When I saw the rustic/country files I was so excited.  I have had this blank wooden plaque for months... I knew I wanted to do something with it, but no inspiration ever hit me.... until I saw this awesome file!  It's the PG Bear Adventure Silhouette.


I knew the Mama bear with her cub would be perfect for this piece.  So I started out sizing the bears and the adventure sentiment with the arrow in my Silhouette Cameo software.  I cut those from some scrap vinyl to use as stencils.  The bears were going to cover up the area I did not want painted and I wanted the negative to paint the quote and arrow.


I had to sand the wood plaque as it was very rough and I knew the vinyl wouldn't stick.


I added the bears to the top using masking tape.


Once the mask was removed, the bears were in place for me to start painting.


I added a very light layer of white paint - I didn't want the entire piece covered.  Just enough to give it a distressed look.


Now it's time to add some color.  I chose a green chalk paint.  Again, keeping it sparingly to add to the distressed look.  I did sand some of the green off as it seemed too much in some areas.


Time to remove the bears and expose the wood.


I always stain after I paint as it gives the paint layers an aged look.  I used a pine stain over the entire wood plaque.  The bears really stood out after this step.


Next, place the sentiment and arrow in the center just below the bears.  Using the negative will act like a stencil.


I used some turquoise acrylic paint over the open areas of the vinyl.


After the paint has dried, remove the vinyl and project complete.


I LOVE how this turned out and can't wait to add it to my living room décor.

Thanks for stopping by!


Thursday, May 24, 2018

Hey Hot Stuff!!

When I saw these adorable dragons from Pink & Main, I knew I had to have them - it wasn't a want, it was a serious need lol.  They are so adorable and the variety of stamps in this set allows for many different cards/projects to be made.  I decided to make a birthday card for my hubby.  Manly cards are sometimes tough but this set made it so easy!

I started out by die cutting the pieces I knew I would need for this card.  Having the coordinating dies make these projects a breeze!!  I did forget the candle at first, so I had to go back and add it.  After all, what's a birthday cake without a candle?!?


Next I used my Tim Holtz Stamp platform to stamp all my pieces. I used a little washi tape on the back to hold the pieces in place which makes stamping so much easier!


Onto the coloring.  I am relatively  new to the Zig markers, but really love the ease and final look of using them.  I kept this project simple - only using one color for a blend.


Here are all my pieces colored and ready for the card.  I only used 6 markers total on this one.  Hubby's favorite colors are blue and green - which make a fun combination to work with.


I had my card layout sketched on a post-it prior to doing any stamping/coloring so paper choice was easy for this card.  I knew I wanted something simple but still have a fun element.


My plan was to  have my birthday cake in the corner being revealed from the top layer.  I used a circle die and cut away the corner to expose the fun confetti layer below, which the cake will decorate.  I did place the pieces to gauge how big the circle needed to be, then ran that through my Big Shot.


Time for assembly!  I added my green mat first.  Then adhered the top layer to the confetti layer, then placed those on the card.  Added all my die cut pieces and a little bling - every card needs something shiny lol.  And here's the completed card.


The flames got a little sparkle from a Clear Spectrum Noir Sparkle pen.


I did use a couple Glossy Dots a well (just don't tell him they were from the Birthday Girl set lol!)

Thanks for stopping by and checking out my fun card!

Goodies used on this card:
Pink & Main Fired Up Stamps and Dies
Pink & Main Stitched Rounded Rectangle Dies
Pink & Main Glossy Dots (Birthday Girl)
Kuqqa Stitched Circle Dies
Tim Holtz Stamp Platform
Archival Ink ~ Jet Black
Zig Clean Color Real Bursh Watercolor Markers
Bazzill Cardstock
DCWV The Birthday Wishes Stack
ColorBox Chalk ~ Blue Lagoon
Spectrum Noir Clear Sparkle Pen
Foam Tape


I have entered my card in the Pink & Main Challenge #30 ~ Anything Goes Challenge