

Totally cute file right?!?! I LOVE these sweet little bunnies. And here's my fun card.

Here's the inside all decorated before the panels are expanded.

Here's the inside all decorated before the panels are expanded.


Here's a quick tutorial to make your own accordion card:
Cut 3 pieces of solid cardstock ~ 2 @ 5" x 5" and 1 @ 5" x 8"
The 5" x 8" piece will allow for 6 tiles, if you need more just add 1" to the end of the 5" x 8" piece - if you want less tiles, subtract 1".
Score the 5" x 8" piece every 1/2".


Using some double sided tape, adhere the front and back base pieces to the accordion.


Take a long piece of ribbon and adhere it to the BACK of the card only.

I then added my mats for the front and inside of the card. When attaching the front cover, be sure not to stick adhesive where the ribbon will be.


To create the little tiles, you will need to cute 18 squares, measuring 1.5" x 1.5" out of solid cardstock. In addition, cut 18 squares 1 3/8" x 1 3/8" out of patterned paper.


Add double sided tape to ONE edge of the solid square.

Carefully adhere the square to the top section of your accordion, leaving about 1/8" space on the side.

When finished with that row, continue to the bottom row of the accordion.

Turn your card around and going the opposite direction, place your middle row tiles spaced evenly between the top and bottom.

Now you can decorate your tiles, cover and inside to your liking.

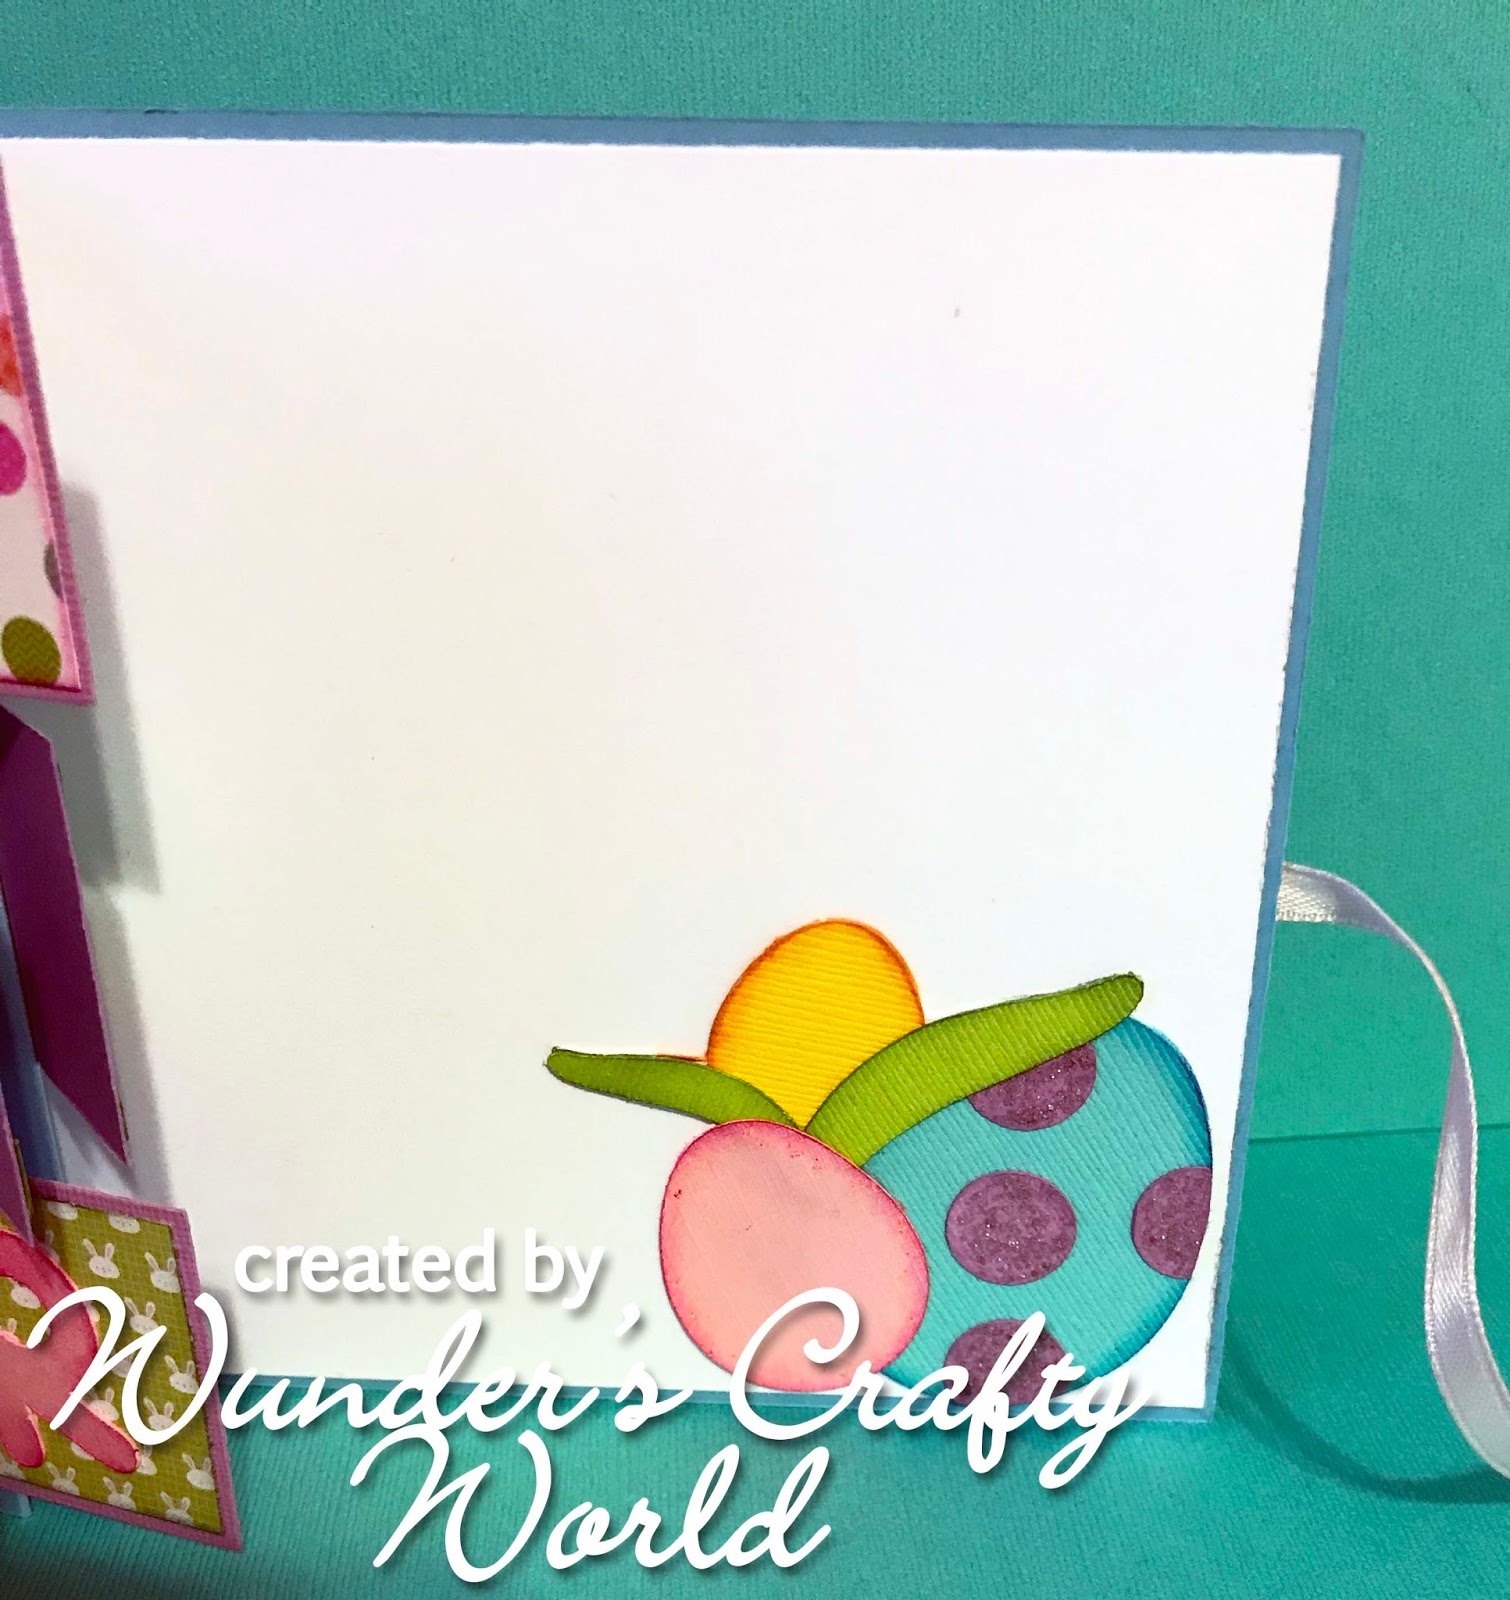
My middle panels are made to resemble a bunny leaving eggs and his little hopping trail. I added some grass and clouds to make it look like a spring day.

Here's the card in motion.
Hope you have enjoyed this card as much as I have creating it =)
Goodies used on this fun card:
KaDoodle Bug Designs ~ Hiding Eggs Bunny
Bazzill cardstock
Core'dinations cardstock
Recollections cardstock
Authentique Paper ~ Springtime One
doodlebug design ~ easter express paper pad
Xyron Creative Station
BigShot
Pink & Main ~ Rounded Stitched Rectangle Dies
Scrappy Mom's Spring Fling Stamps
Tim Holtz Stamp Platform
Double Sided Tape
Lawn Fawn ~ Grassy Border
Pink & Main ~ Plane Sweet Dies
Scrappy Moms ~
Archival Jet Black Ink
ColorBox Chalks ~ Blue Lagoon, Ocean, Creamy Brown, Chestnut Roan, Wisteria, Pink Pastel, Harvest, Burnt Sienna, Yellow Citrus, Berrylicious, Aquamarine, Warm Green, and Warm Violet
Stickles ~ Milled Lavender, Tropical Tangerine, and Fruit Punch
Recollections Black Pen
Pebbles Classic Chalks
Signo White Pen
eBrush Airbrush
Sharpies ~ Green, Yellow, Brown, Pink, Purple
Pink Glitter Enamel Dots

Super stupendous card snd tutorial. After all that work I would not be able to give it away. 😁
ReplyDeleteTTFN
www.pannelldesigns.blogspot.com
Love this. Thank you for the tutorial
ReplyDeleteOh, my, just too fantastic.
ReplyDeleteI am in the middle of making this card. It is adorable but I have a guestion. The tutorial doesn't say just how to put the ribbon on. Where does it get attached and does the ribbon keep it from coming open at the accordion edge?
ReplyDeleteHi NanaDunn,
DeleteIn the 3rd picture of the tutorial it shows the ribbon being adhered to the back of the card only. You'll want to make the piece going to the front a lot longer than what's left on the back. Use some double sided tape and adhere it in the middle. Then when you put your front on, you'll want to make sure you don't tape/glue where that ribbon will lay. When the card is all assembled you will tie it on the opening side, which will keep the accordion closed.
Hope that helps. If not, just let me know.
Thanks,
Jennifer
Yes, that is just what I was wondering. Thanks so much for clearing it up for me.
ReplyDelete