Friday, March 16, 2018

Stop and Smell the Jelly Beans

Have y'all checked out all the fabulous new files from KaDoodle Bug Designs?! They are all super cute and will make the cutest additions to your scrapbook pages or cards.  Today I chose to work with the Jelly Bean Jar Cutie... and it's beyond cute!!


I was excited to work with this file and finally use my clear cardstock. I wanted my jar to look like a real jar and I think I accomplished that today.


I cut all my pieces ~ notice the fabric used the cover?  I love incorporating different medias into a project.


Now that everything is inked, it's time to assemble the cute jar.


I added some foam tape to raise my clear jar to give it the impression it was really a jar with jelly beans lol.


I chose to keep the card simple ~ a beautiful spring day is what I was going for.  I stamped my sentiment on the sun, which was cut from a stitched circle die.  


Add the jar full of cuteness and card complete.  Here's a side view so you can see the clear layer of the jar.


Thanks for stopping by!!

For this card I used the following goodies:
KaDoodle Bug Designs ~ Jelly Bean Jar Cutie
ClearScraps Clear Acrylic cardstock
doodlebug design ~ easter parade cardstock
DCWV ~ Twinkle Glints Stack
Pink & Main ~ Take Flight Paper Pad
Bazzill cardstock
Recollections cardstock
Scrap Fabric
Heat n Bond
Lawn Fawn ~ Grassy Border Die
Circle Stitched Dies
Scrappy Moms ~ Spring Fling Stamps
Tim Holtz Stamp Platform
Archival Jet Black Ink
ColorBox Chalks ~ Chestnut Roan, Ocean, Blue Lagoon, Charcoal, Warm Green, Burnt Sienna, Harvest, Blush Rose, Berrylicious, and Wisteria
Foam Tape
Double Sided Tape
Micron Pen
Signo White Pen


Thursday, March 15, 2018

Hoppy Easter

With Easter fast approaching, I am trying to get those special and unique cards done.  I chose to use the new Hiding Eggs Bunny from KaDoodle Bug Designs to make this fun and interactive card.

Totally cute file right?!?!  I LOVE these sweet little bunnies.  And here's my fun card. 


Here's the inside all decorated before the panels are expanded.

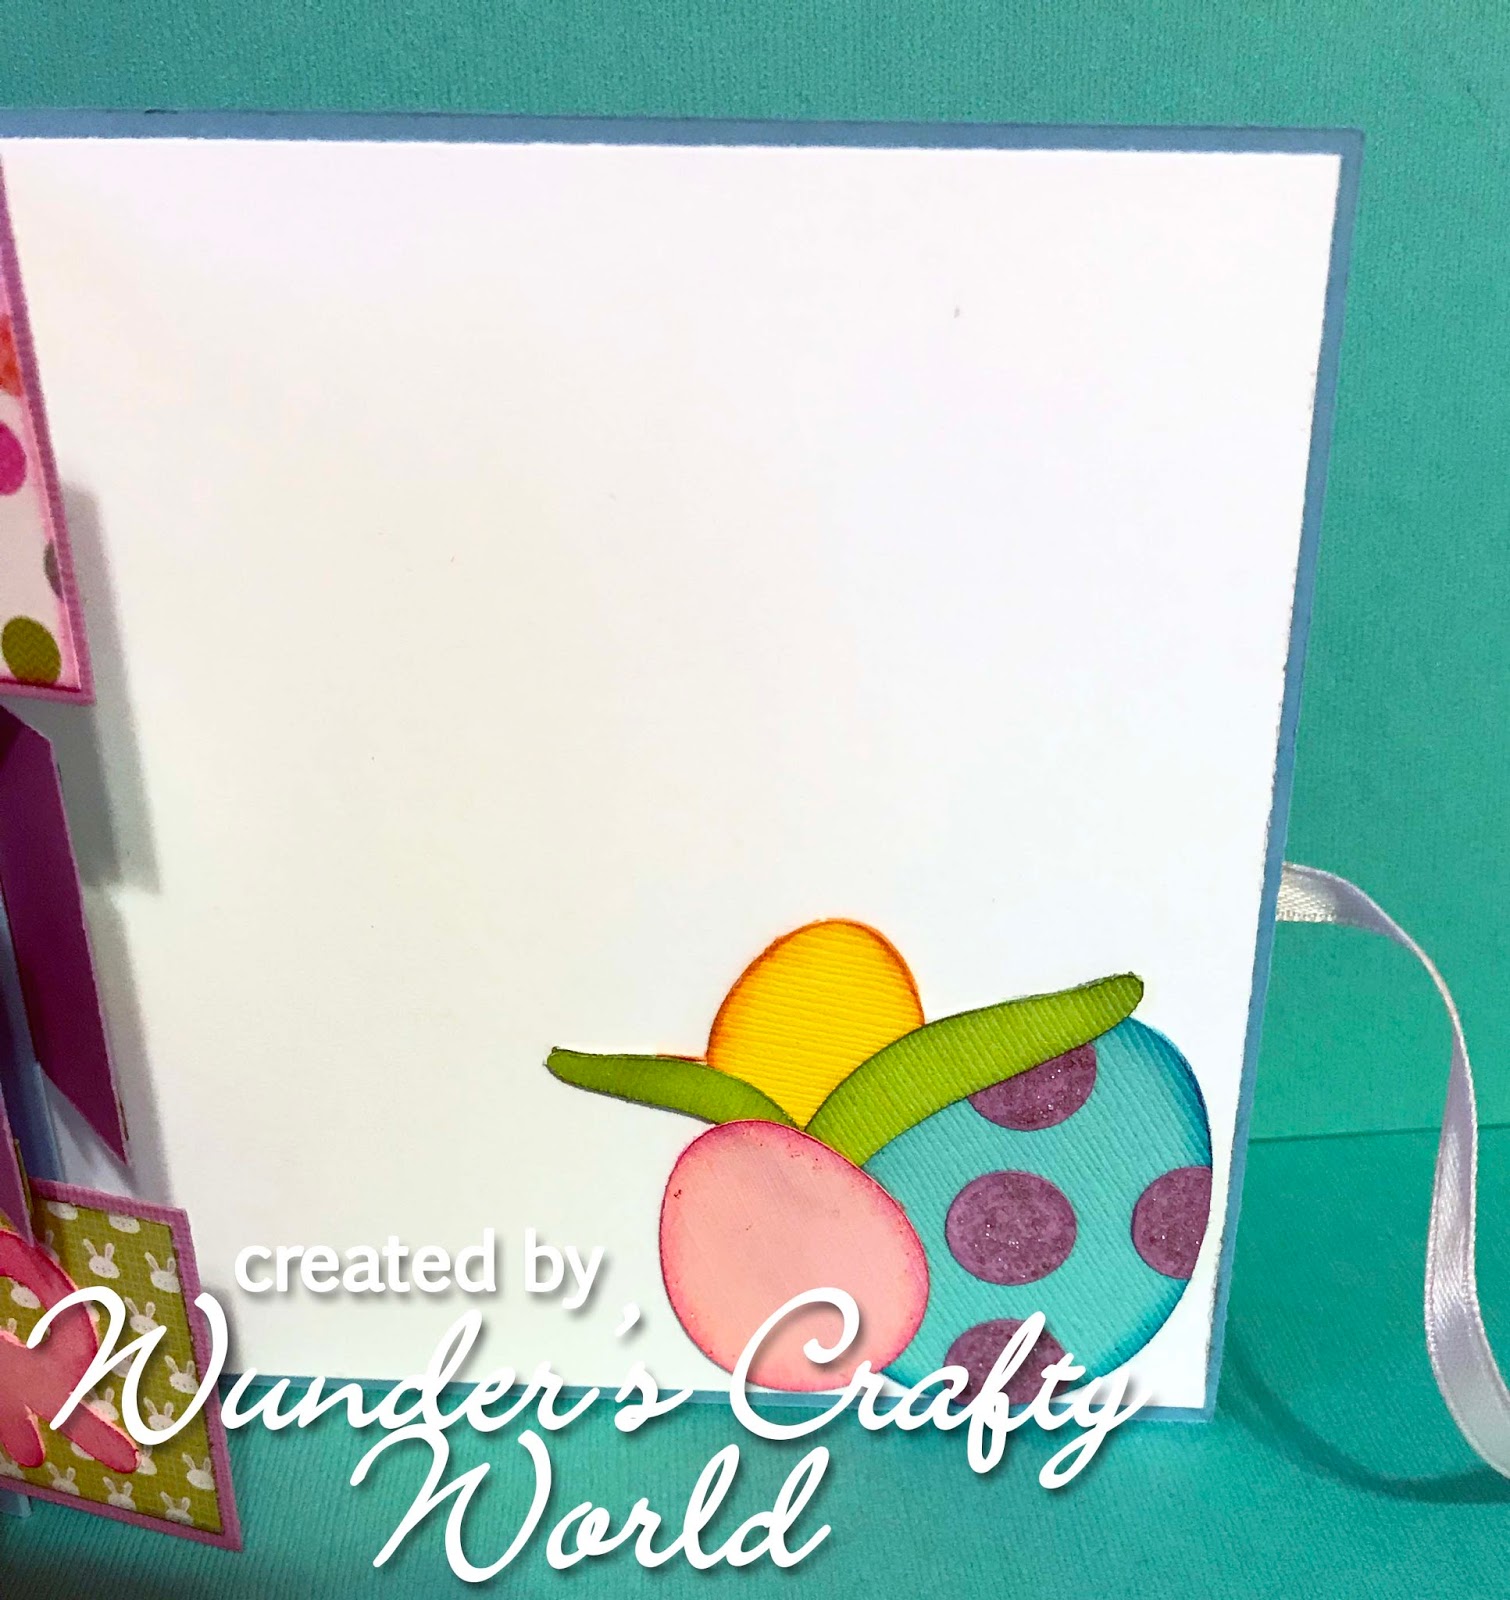
The full card expanded.


Here's a quick tutorial to make your own accordion card:

Cut 3 pieces of solid cardstock ~ 2 @ 5" x 5" and 1 @ 5" x 8" 
The 5" x 8" piece will allow for 6 tiles, if you need more just add 1" to the end of the 5" x 8" piece - if you want less tiles, subtract 1".
Score the 5" x 8" piece every 1/2".


Using some double sided tape, adhere the front and back base pieces to the accordion.


Take a long piece of ribbon and adhere it to the BACK of the card only.


I then added my mats for the front and inside of the card.  When attaching the front cover, be sure not to stick adhesive where the ribbon will be.


To create the little tiles, you will need to cute 18 squares, measuring 1.5" x 1.5" out of solid cardstock. In addition, cut 18 squares 1 3/8" x 1 3/8" out of patterned paper.


Add double sided tape to ONE edge of the solid square.  


Carefully adhere the square to the top section of your accordion, leaving about 1/8" space on the side.


When finished with that row, continue to the bottom row of the accordion.


Turn your card around and going the opposite direction, place your middle row tiles spaced evenly between the top and bottom.


Now you can decorate your tiles, cover and inside to your liking.


My middle panels are made to resemble a bunny leaving eggs and his little hopping trail.  I added some grass and clouds to make it look like a spring day.  

Here's the card in motion.


Hope you have enjoyed this card as much as I have creating it =)


Goodies used on this fun card:
KaDoodle Bug Designs ~ Hiding Eggs Bunny
Bazzill cardstock
Core'dinations cardstock
Recollections cardstock
Authentique Paper ~ Springtime One
doodlebug design ~ easter express paper pad
Xyron Creative Station
BigShot
Pink & Main ~ Rounded Stitched Rectangle Dies
Scrappy Mom's Spring Fling Stamps
Tim Holtz Stamp Platform
Double Sided Tape
Lawn Fawn ~ Grassy Border
Pink & Main ~ Plane Sweet Dies
Scrappy Moms ~ 
Archival Jet Black Ink
ColorBox Chalks ~ Blue Lagoon, Ocean, Creamy Brown, Chestnut Roan, Wisteria, Pink Pastel, Harvest, Burnt Sienna, Yellow Citrus, Berrylicious, Aquamarine, Warm Green, and Warm Violet
Stickles ~ Milled Lavender, Tropical Tangerine, and Fruit Punch
Recollections Black Pen
Pebbles Classic Chalks
Signo White Pen
eBrush Airbrush
Sharpies ~ Green, Yellow, Brown, Pink, Purple
Pink Glitter Enamel Dots


Wednesday, March 14, 2018

Happy Pi Day

 
 Happy Pi Day!!  In honor of Pi Day, I have this yummy card to share with y'all.  

What better file to use than this yummy apple pie file from KaDoodle Bug Designs
?!?  It's a perfect match!!


I'm an avid baker in my spare time and have finally decided to make my own recipe book for those that I use regularly.  I also inherited my Grandmother's recipes when she passed and I want to hold onto her own handwritten recipes as long as I can.  This recipe book will be a work in progress as I gather all my favs and add my own touches to each recipe card.

Here's my Apple Pie recipe card ~ just in time for Pi Day.


I started out using my Sizzix Library Pocket Die to cut the actual recipe card.  I also cut one solid color for the back and a decorative piece for the front.  I also cut out the pocket from a patterned piece of cardstock ~ perfect mat as it was a baking piece =)


I then cut out little tabs to from a sheet of apple paper to indicate it was for an apple pie.  I used double sided tape and adhered that to front side.


Added my pattern paper.


Flipped it over and added the red piece for any area to write notes.


I then added the assembled pocket to the front along with some reinforcements where the holes were punched.  This is where I will store her original recipes as they are mainly written on paper and folded between pages in her cookbooks.


Next, I added the adorable paper piecing of the yummy pie to the pocket which will hold the family recipe for apple pie.


Now I just need to fill up my new recipe holder with all my yummy recipes.

Thanks for stopping by!


Goodies used to make this fun card:
KaDoodle Bug Designs ~ Baking Goodies
Clear Scraps ~ Clear scrapbook acrylic
Tim Holtz Ring Binger Large
Sizzix Library Pocket Die
Sizzix Mini Album Dies
Pink & Main ~ Perfectly Plaid Fall paper pad
TPC Studio ~ So Delish paper
Pebbles ~ Woodland Forest paper pad
Bazzill Cardstock
ColorBox Chalk ~ Warm Red, Burnt Sienna, Charcoal, Chestnut Roan, Toffee, Creamy Brown and Blush Rose
Xyron Creative Station 
Double Sided Tape


Tuesday, March 13, 2018

Rainy Day Slider

Well here in central Indiana, it's been a bipolar winter lol.  We had a few days of "spring" weather and now winter has returned.  I would really love to have more of those spring days for sure.  When I saw the new Playing in the Rain file from KaDoodle Bug Designs, it reminded me that in a couple short weeks spring will be here (hopefully!!).  This file is such a cutie... don't you agree??


I thought it would be super fun to give that little bear in the umbrella a little slider action.  So here we go.. this is how I did just that :)


As always, I will chalk and color all my edges for added dimension.  The eBrush is only used on the base piece to hide the white edges.


After I finished the piecing, I cut some grass with a Lawn Fawn die.  Then I placed my slider die where I wanted it and ran that through the BigShot.


I generally use two pennies when I make a slider card.  It makes the slider a little sturdier.  


Add your piecing to the top of the penny and finish decorating your card.  You can see the slider in action below.


Goodies used for this card:
KaDoodle Bug Designs ~ Playing in the Rain
Bazzill cardstock
Recollections cardstock
Core'dinations cardstock
American Crafts  ~ Raindrops patterned paper
Lawn Fawn ~ Slide on Over Dies
ColorBox Chalks ~ Aquamarine, Ocean, Harvest, Chestnut Roan, and Charcoal
eBrush
Sharpies ~ Brown, Light Green and Turquoise
Recollections Black Pen
Pebbles Classic Chalks
Signo White Pen
Lawn Fawn Grassy Border Die
BigShot
Tim Holtz Stamp Platform
Archival Jet Black Ink
Scrappy Moms ~ Walking on Sunshine Stamps
Recollections Foam Mini Circles


Monday, March 12, 2018

St. Patty's Day Challenge

As we kick off this weeks St. Patrick's Day challenge over at KaDoodle Bug Designs, I am sharing my inspiration for it.  We would LOVE to have y'all join us for this Anything Goes ~ St. Patrick's Day theme.  


Here is my little card celebrating St. Patty's Day!


Time to give the Cameo a workout today =)  As you can see, I have all my papers in place to cut the pieces out.


Time to give those edges some color.  I tend to use my eBrush to cover the base piece so when the final piecing is assembled, no white will show around the edges.  Each piece is also chalked for that added dimension.


I wanted to do a little something special with my pot o' gold, so I added a layer of Crackle Accents. While I had to wait for that to dry to, I added some Stickles to all my gold accents.  Then it's finish assembling the bear once it all dries =)


Four hours later, we have a crackled pot that looks aged.  Just the look I was going for.


To accent the card base, I added a yellow mat. For the green mat, I used the small shamrock in the file and cut out a bunch so the rainbow underneath would show through.  The green layer is popped up with some foam tape.


I used a die to cut a label for my sentiment.  I really miss Scrappy Mom stamps ~ they are my go to sentiment stamps. Using my stamp platform I stamped my sentiment.  Added that to the card along with some white drops.


Hope you enjoyed this card as much as I did creating it!


Goodies used for this card:
KaDoodle Bug Designs ~ Cutie KaToodles ~ Lucky Bear Peeker
doodlebug design ~ pot o' gold paper pad
Core'dinations cardstock
Bazzill cardstock
Recollections cardstock
eBrush
Sharpies ~ Grey and Brown
ColorBox Chalks ~ Creamy Brown, Chestnut Roan, Warm Green, Deep Green, Aquamarine, Blue Lagoon, Ocean, and Pumpkin Spice
Crackle Accents
Recollections Black Pen
Pebbles Classic Chalks
Signo White pen
Stickles ~ Yellow and Firefly
Xyron Creative Station
Lawn Fawn Stitched Labels Dies
Scrappy Moms Spring Fling stamps
Archival Jet Black Ink
Tim Holtz Stamp Platform
Perler Pen ~ Ice White