
So today, we are going to make this cute Easter card using the file available below.

The file includes the following pieces:
Card Base - 5.5in x 5.5in (White pc)
Base Mat 5.375in x 5.375in (yellow pc)
Card top template (green pc)
Card top panel base 3.25in x 3.25in (White pc)
Card top panel mat 3.125in x 3.125in (yellow pc)
Card top (for your image) 3in x 3in (green pc)
Sentiment piece 1.5in x 3.75in (top piece in the middle)
Slider mechanisms (2nd and 3rd pieces in the middle) pull tab 1.25in x 4.5in cross bar .5in x 3.75in


Now it's time to fold the flap - do a mountain fold, then a valley fold.

Next, you will want to complete your sentiment strip. You'll want to decorate about 3/4 of the tab, leaving the right side blank.

We are now going to attach the sentiment tab to the card top. Flip your card top over, keeping the message opening to right (small cutout section). The flipside of my paper is upside down, so don't let that throw you off lol.

Apply double sided adhesive to the front of your sentiment piece on the LEFT side only, no more than 1/2 from the edge.

To attach the sentiment piece turn it over, keeping the adhesive on the LEFT side. Slide the sentiment piece through the cutout section, lining up the edges of the sentiment piece and the edge of the flap while keeping it centered between that cutout. When it's in place, press the left side down.


You can then slide the top piece over to see the entire sentiment.

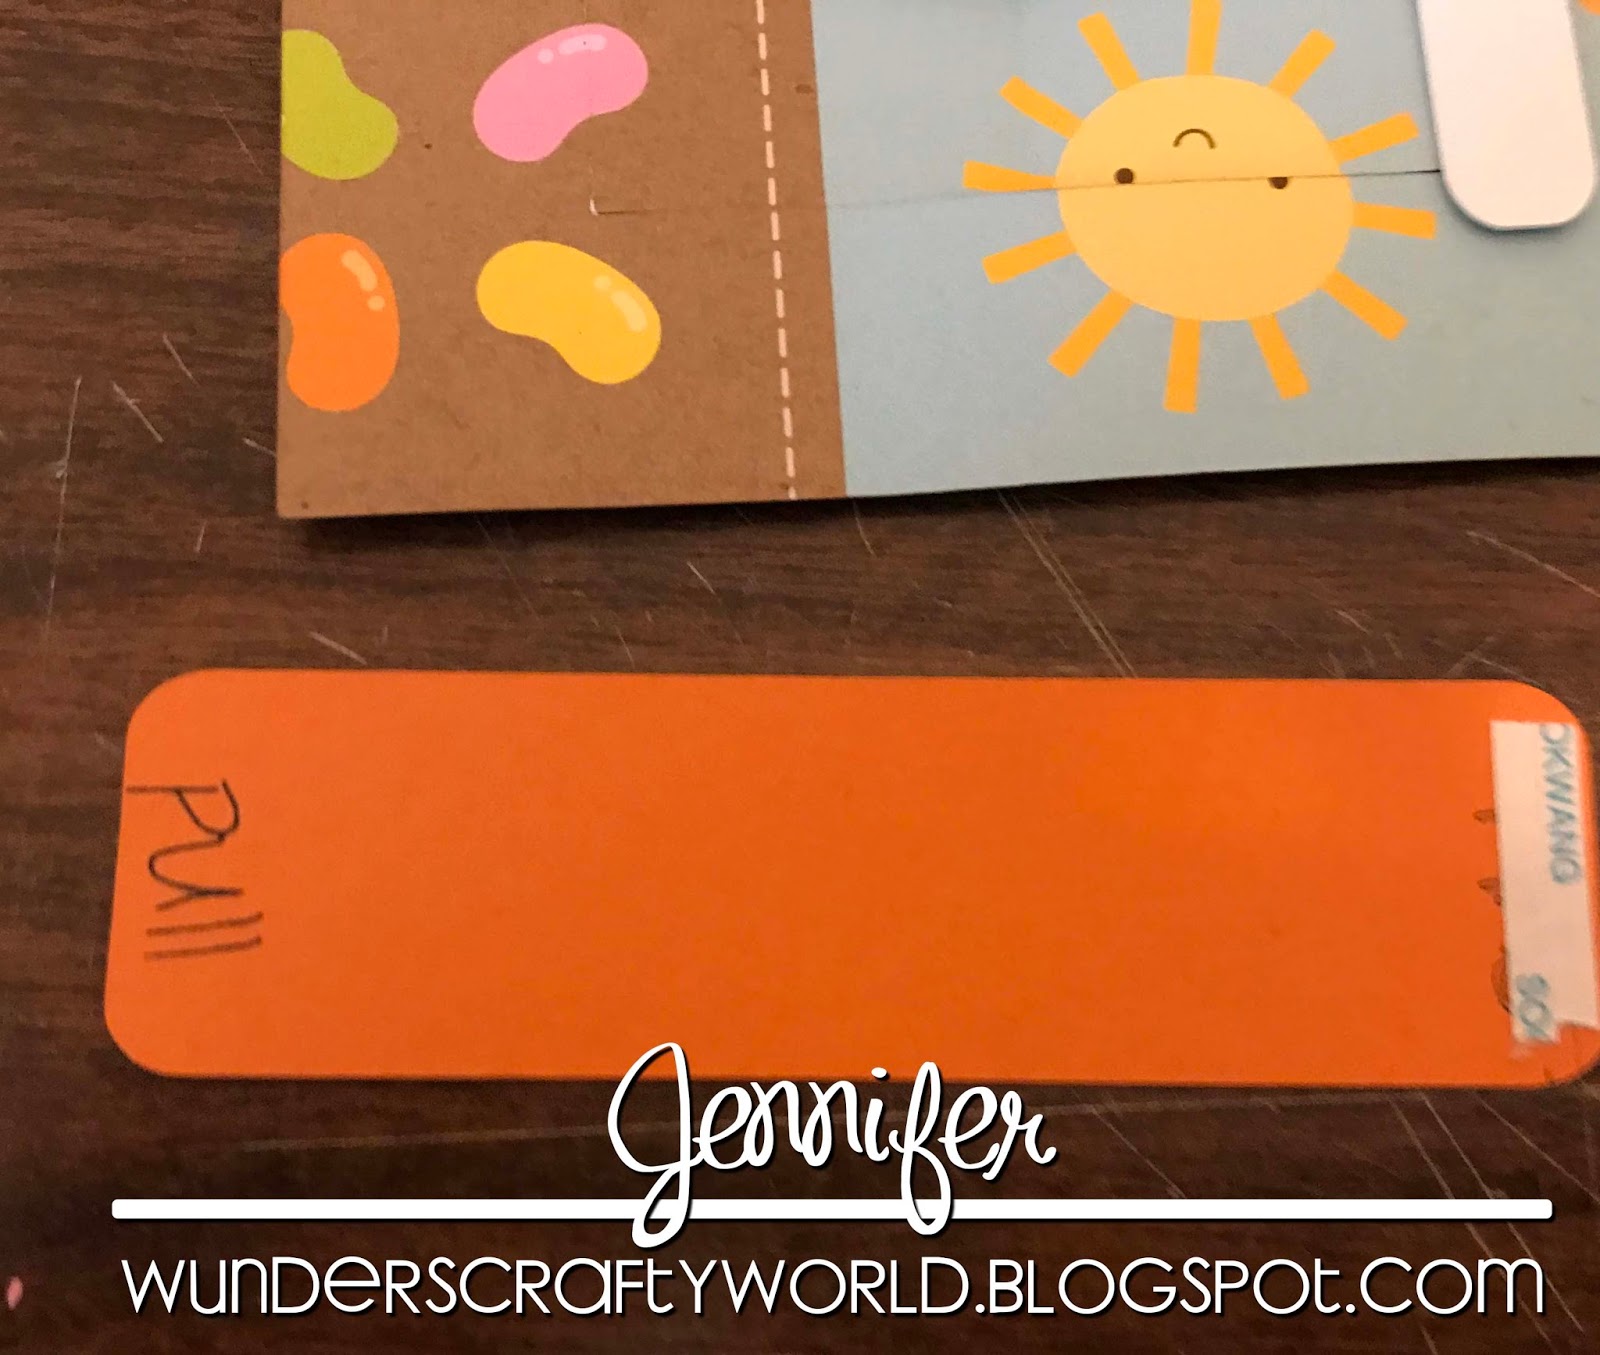
Next step is to stamp or write PULL on your pull tab. I used my Chomas Creations Pen holder when I cut my pieces to write the word pull.

Flip your card top over again. Add double sided tape to the 1/4in strip on the flap (this will be the very edge between the fold and the edge of the flap).

Now you will need to take your cross bar and adhere it to the edge of your flap. it should align flush with the cutout from the sentiment and the edge of the flap. Be sure it is centered, so the top and bottom have roughly 1/4in overhang.

We will now add a small piece of double sided tape to the RIGHT edge of the pull tab.
To secure the pull tab turn it over, center it over your sentiment piece with about 1/2in extending over the left side of the card top.

Flip your card top over - you should see a small section of your pull tab on the left and a small section of your sentiment piece showing.

You can now test out your slider.

I added my mat to my card base at this point.

To secure the card top, you'll want to add double side adhesive to the back. So turn your piece over again. Be extremely careful where you place your tape as it is super easy to stick it in the wrong place and the card will not slide.
Add double side adhesive to the top, bottom and right hand side.

Add smaller pieces to the left side above and below the pull tab. Keep at least 1/4in clearance on top and bottom so the pull tab can move freely.

Next, apply a piece that runs from the top to bottom along the flap opening.

OPTIONAL - Add two more pieces of tape, 1/4in above the bottom piece and 1/4in below the top piece. Again, leave plenty of clearance for the cross bar to clear the tape section. Since my tape was wide enough, I opted not do to this step.
Your last two pieces will be small ones added above and below the sentiment piece on the left side, near your score line.

Remove all the backing and apply the top base to your mat.
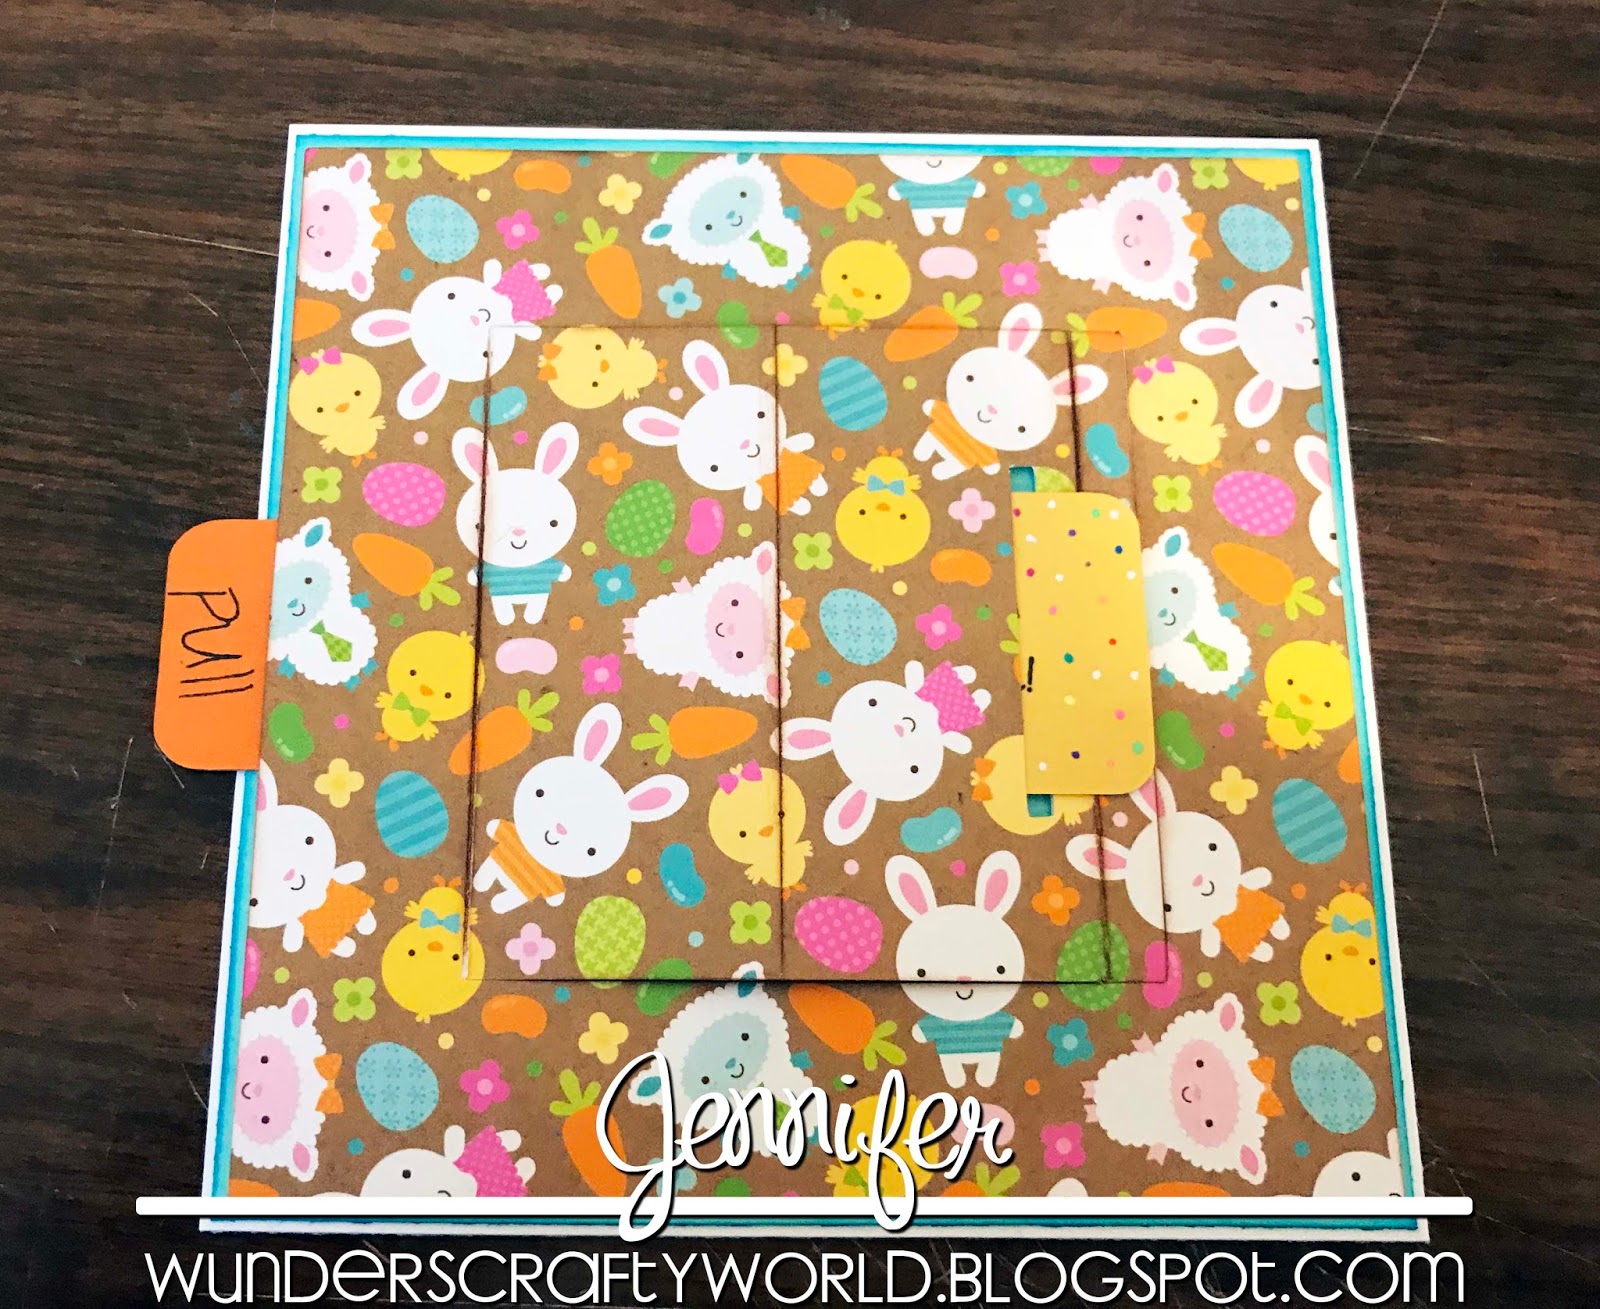
Your slider mechanism should move freely exposing your message.

You can now work on your top panel pieces. Add your mat to your base piece.

Decorate your top piece (3in x 3in) however you want - stamped image, paper pieced cutie, etc. Here you can see I added this really fun new Easter Basket Cutie from KaDoodle Bug Designs to mine. Then adhere that to your top panel base.

Now you will add double sided tape to the LEFT section of your flap, do not go beyond your score lines.

Place your panel on the tape. Embellish the top panel to your liking and your card is now complete.


If you have any questions or get stumped assembling the card, please let me know! You can leave a message here or contact me on Facebook.
Thanks for stopping by!!
Goodies used on this fun card:
KaDoodle Bug Designs ~ Shoptastic Cuties ~ Easter Basket Cutie
doodlebug designs inc. ~ easter parade bunny & friends
Bazzill Cardstock
Core'dinations Cardstock
Recollections Cardstock
Chomas Creations Engraving Tip
Chomas Creations Pen Holder
Jelly Roll Pen ~ Black
ColorBox Chalk ~ Chestnut Roan, Blue Lagoon, Harvest, Warm Violet, Aquamarine, and Burnt Sienna
Tim Holtz Stamp Platform
Archival Jet Black Ink
Studio G Easter Stamp
Gelly Roll Pens ~ Neon Colors
Signo White Pen
Spectrum Noir Sparkle Pen

No comments:
Post a Comment